
Mississippi Mud Pie
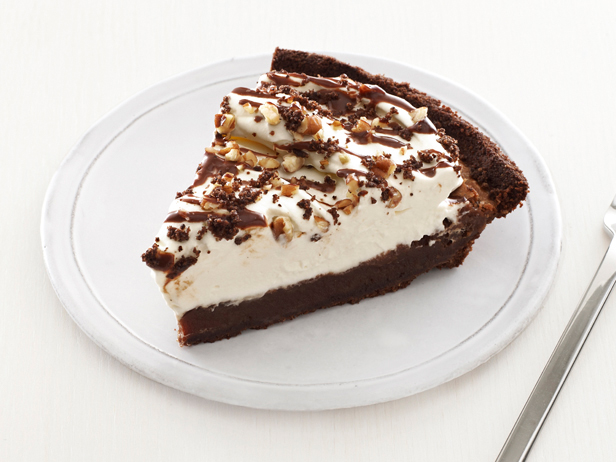 Walker spent four days out at Camp St. Christopher on Seabrook Island with his grade- 75 10 year olds. I don’t think you could have paid me to be a chaperone for that field trip. They had a ball playing in the mud pit and learning more about the lowcountry natural life. They had to keep a journal and when they got back, they had to right a paragraph on all of the senses- what they heard, saw, tasted, smelled, felt. I think if Walker could have written about the Mississippi Mud Pie they had for dessert one night for all of the senses he would have- instead he just used it for taste. Here is my favorite Mississippi Mud Pie recipe- enjoy!
Mississippi Mud Pie
(from www.foodnetwork.com)
Ingredients
For the crust: 9 chocolate graham crackers (1 sleeve)
1/3 cup chopped pecans
3 tablespoons unsalted butter, melted
For the filling: 1 stick unsalted butter, cut into pieces
2 ounces unsweetened chocolate, chopped
2 tablespoons all-purpose flour
Pinch of salt
1 1/4 cups granulated sugar
2 tablespoons light corn syrup
2 tablespoons coffee-flavored liqueur
1 1/2 teaspoons vanilla extract
3 large eggs
For the topping:
1 1/2 cups cold heavy cream
1 tablespoon confectioners’ sugar
1/2 teaspoon vanilla extract
3 tablespoons finely chopped pecans
Chocolate sauce, for drizzling (optional)
Directions:
Make the crust: Preheat the oven to 375 degrees F. Pulse the graham crackers and pecans in a food processor until finely ground. Add the melted butter and process until moistened. Reserve 2 tablespoons of the chocolate crumb mixture for topping, then press the rest into the bottom and up the sides of a 9-inch pie plate. Bake until set, about 10 minutes; transfer to a rack and let cool.Meanwhile, make the filling: Melt the butter and chocolate in a medium saucepan over medium heat, stirring. Remove from the heat, then stir in the flour and salt until smooth. Stir in the sugar, corn syrup, coffee liqueur and vanilla. Add the eggs, one at a time, stirring until smooth. Pour the filling into the prepared crust and bake until set and cracked on top (like a brownie), about 30 minutes. Transfer to a rack and let cool slightly, about 2 hours (the pie should still be slightly warm).
Make the whipped cream: Beat the heavy cream, confectioners’ sugar and vanilla with a mixer until soft peaks form. Top the pie with the whipped cream, pecans and reserved chocolate crumb mixture. Drizzle with chocolate sauce.
 We spent a glorious day on Saturday with friends on a dock. The light at the end of the day was so beautiful, and watching Walker and his friend jumping in the water and swimming, it really was a golden afternoon. It reminded me of a soup I had a while ago called Golden Cream Soup- delicious name and even more delicious soup. As we say goodbye to our last days of summer and welcome in the cooler days, I love having a good stockpile of yummy soup recipes, and this is a great one.
 We are taking a house party up to Linville in about a month, and I am so excited for it that I have already started planning the menu. I was going to have traditional spaghetti sauce, homemade bread, and salad for dinner one night because it is what we always have for house parties in Linville, but I came across a recipe yesterday that looked so intriguing and delicious, that I might have to put aside the spaghetti for once. The recipe is for BBQ chicken over grits, and what really stopped me was that it called for putting a can of pumpkin in the grits as well as pepper jack cheese. Wow! I can not wait to try this!! (the photo is from www.tasteofhome.com)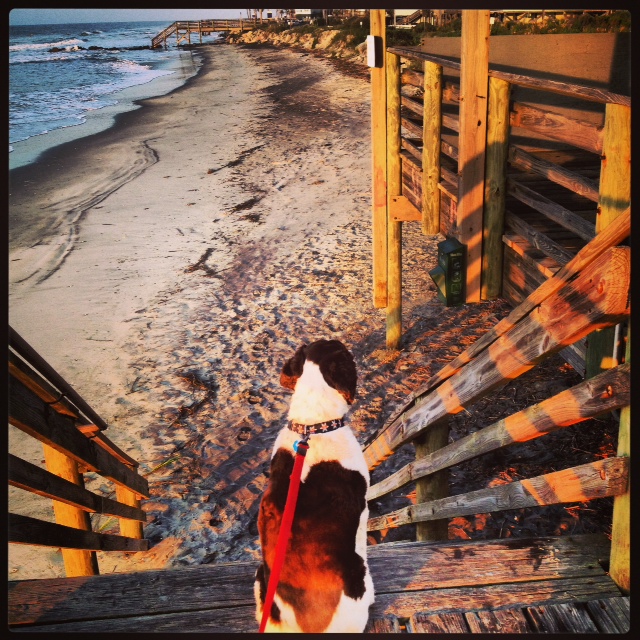
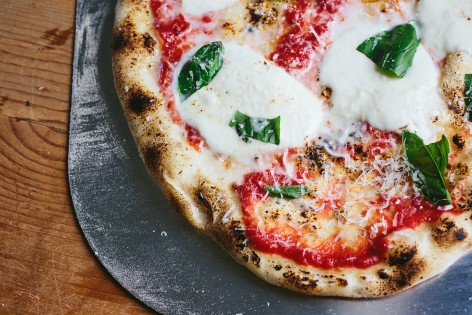 A new Italian restaurant opened in Charleston a couple of months ago, and I had dinner there yet again last night, and again, it was fabulous! I was there with some girhttps://thesouthwillrise.com/wp-admin/post-new.phplfriends, and we started out with the butter bean puree, Castelvetrano olives, and the 24-month aged American Iberico prosciutto. All of it was amazing- especially the prosciutto. We also had the pork trotters, which is one of my favorites on the menu, and all I can say about them is they are ridiculous. We were talking with one of the owners who came over to say hello (did I mention how amazing the service is??), and he was saying that it used to be a restaurant needed to specify if it was a Northern Italian or Southern Italian restaurant, but that Indaco didn’t do that. They just put really good food on the menu. I really love that sentiment. Instead of trying to cater to a certain theme, its just really good food. I mean, really good! We then had several of the pizzas and the eggplant lasagnette. The pizzas are to die for, and while I did not think that I enjoyed eggplant, it turns out I do- amazing. One of the pizzas we had was an eggplant pizza with tomato, ricotta, buffalo mozzarella, and grana padano. It was truly delicious. So, here is a recipe I found for easy eggplant pizza, and while it won’t be as good as Indaco (only because I don’t have a wood fire pizza oven- ha) it will tide me over til the next time I find a reason to go to my new favorite place! (The picture is from the Indaco website www.indacocharleston.com of one of the pizzas.)
 It is Friday of Labor Day weekend which to me officially is the end of summer. One last weekend at the beach before we hope the weather turns a bit cooler. However, as sad as I am about summer being over, it also means that college football has started again. South Carolina kicked off the season last night against the Tarheels, and yesterday, the whole atmosphere in Charleston was all about college football. Clearly, tailgates are my favorite part of the whole football season- I am starting to enjoy watching the games a lot more, especially since I recognize some of the names of the players. But really, it is all about the food. I was looking on-line today for some great tailgate recipes, and I found it very amusing that the breakfast burrito showed up in a lot of lists- as this is for the serious tailgater who is there in time for breakfast. So, here is my favorite breakfast burrito recipe in honor of those tailgaters who can last all day.
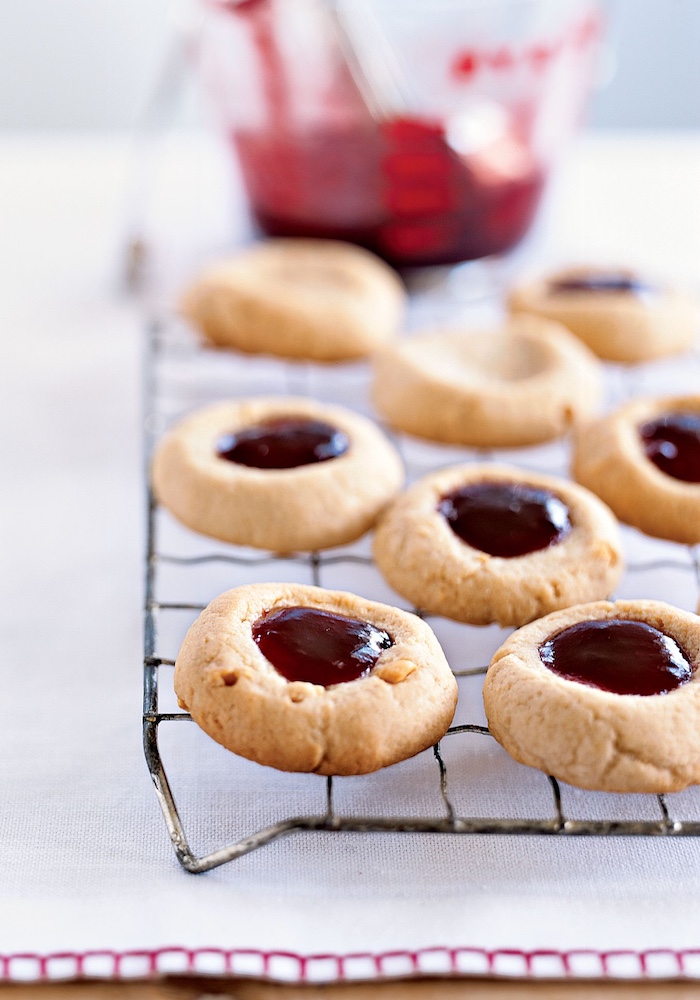 We have survived the first week back to school- it actually was relatively easy. Walker came home the first day saying that he had the best group of teachers which is always good, and more importantly, he has not had too much trouble waking up in the morning. The main change in school this year according to Walker is that they redid the lunch room and got a new lunch service company. He is very impressed. Gone are the days of peanut butter and jelly sandwiches every day which is what I had for lunch long long ago in my school days. I really do love a good peanut butter sandwich, but of course better than that is a peanut butter cookie. I saw these very fun cookies on Martha Stewart.com and thought they were a perfect “back to school” treat.
 This past weekend we spent Friday night out at the Sanctuary at Kiawah Island- a “staycation” if you will. It was absolutely wonderful. I felt like I had been on vacation for a week and we weren’t even there 24 hours. We arrived on Friday afternoon. It had been raining the whole day in Charleston, but just 45 minutes away, it had not rained at all. We sat by the pool for a cocktail and then met some friends on the beach. After that, we had drinks in the lobby bar with some other friends we ran into who were doing the same thing. We then walked up to The Ocean Room, sat at the bar and had a fabulous dinner. Corby got the steak and I had the pesto gnocchi- delicious! We were then “talked” into getting dessert. It was going to be a very tough decision but fortunately they had a dessert trio which included the two things I wanted to try- the carrot cake doughnuts and the chocolate and malt. I can’t remember what the third was but I am sure I enjoyed it. However, I do remember the carrot cake doughnuts very well. Amazing. They were served with cream cheese ice cream and a caramel sauce. And of course since it was a carrot cake doughnut, that means it was healthy because of the carrot- right? Either way, they were really special. The next morning we went for a long walk on the beach and then sat at the pool for many hours until it was time to go home and pick up the dog. It really was a phenomenal night/day/vacation. Now, Walker is finally home after two and a half months of being away and school starts tomorrow- how has the summer gone by so quickly? I dug around this morning to find a recipe for the carrot cake doughnuts that might make the first morning of school a little more bearable.
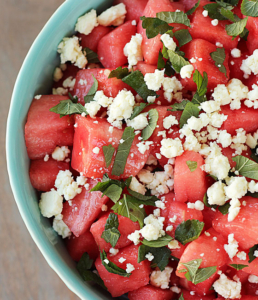 We had a great weekend celebrating a friend’s 40th birthday, for which I made the cake (of course, in the shape of a 40- it was pretty awesome), and we had a super fun Sunday beach day yesterday. However, despite all of the fun in the sun, it is really hot. I know it is summer, but I mean it is really hot. We have or now had tickets to see one of my favorite bands, The Killers, tomorrow night at the Family Circle Tennis Center, which most of the time is a fantastic place to see a concert, but I actually sold our tickets yesterday on Craigslist because at 8:30 am yesterday, it felt like 95 degrees outside. That does not bode well for an early evening outdoor concert. So, what to eat in the heat? Watermelon, obviously, and what better than a watermelon salad! Here is a great recipe with Feta Cheese.