 We are taking a house party up to Linville in about a month, and I am so excited for it that I have already started planning the menu. I was going to have traditional spaghetti sauce, homemade bread, and salad for dinner one night because it is what we always have for house parties in Linville, but I came across a recipe yesterday that looked so intriguing and delicious, that I might have to put aside the spaghetti for once. The recipe is for BBQ chicken over grits, and what really stopped me was that it called for putting a can of pumpkin in the grits as well as pepper jack cheese. Wow! I can not wait to try this!! (the photo is from www.tasteofhome.com)
BBQ Chicken and Grits
Ingredients:
1 lb boneless, skinless chicken breasts
1/4 tsp pepper
14.5 oz can reduced-sodium chicken broth, divided
1 cup hickory smoke-flavored BBQ sauce
1/4 cup molasses
1 tbsp ground ancho chili pepper
1/2 tsp cinnamon
2 1/4 cups water
1 cup quick-cooking grits
1 cup canned pumpkin
3/5 cup shredded pepper jack cheese
1 medium tomato, seeded and chopped
6 tbsp sour cream
2 green onions, chopped
2 tbsb minced cilantro
Directions:
Sprinkle the chicken with pepper and place in a large nonstick skillet coated with cooking spray.
In a large bowl, combine 1 cup of the broth, bbq sauce, molasses, chile pepper and cinnamon and pour over chicken. Bring to a boil. Reduce heat, cover and simmer for 20-25 minutes or until a meat thermometer inserted into the center of the chicken reads 170 degrees. Shred the meat with two forks and return to skillet.
Meanwhile, in a large saucepan, bring the water and remaining broth to a boil. Slowly stir in the grits and pumpkin. Reduce the heat and cook, stirring, for 5-7 minutes or until thickened. Stir in the cheese until melted.
Divide the grits among 6 serving bowls and top each with 1/2 cup chicken mixture. Serve with tomatoes, sour cream, green onions and cilantro.

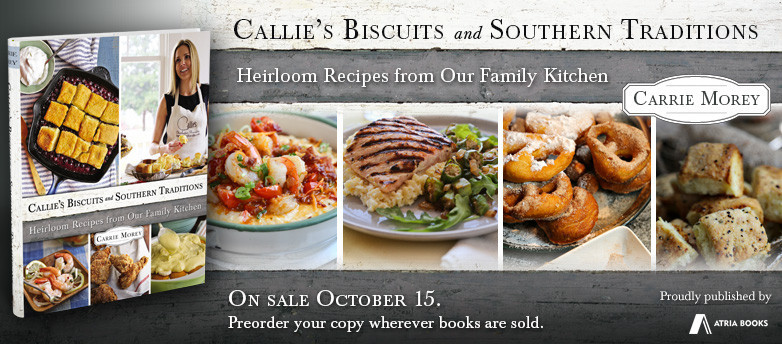 I am so, so, so excited for Callie’s Biscuits and Southern Traditions cookbook to come out on October 15th. Callie’s is a staple at parties in Charleston, from her amazing biscuits to the delicious pimento cheese- everything she makes is fantastic, and I am thrilled that she is putting out a cookbook! I am also thrilled that there is a Biscuits and Bourbon after party at Billy Reid, which is just super fun. Make sure to pre-order yours today!
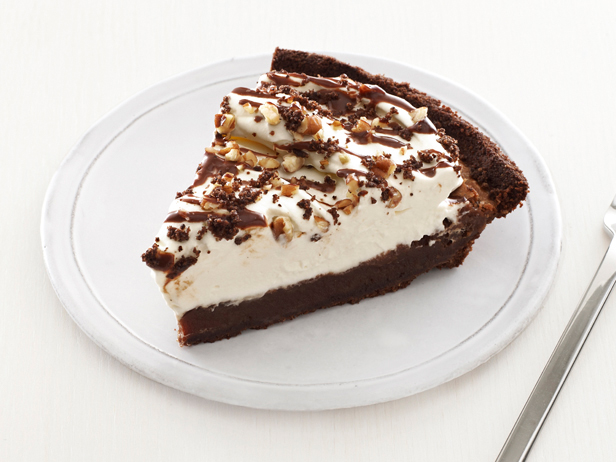 Walker spent four days out at Camp St. Christopher on Seabrook Island with his grade- 75 10 year olds. I don’t think you could have paid me to be a chaperone for that field trip. They had a ball playing in the mud pit and learning more about the lowcountry natural life. They had to keep a journal and when they got back, they had to right a paragraph on all of the senses- what they heard, saw, tasted, smelled, felt. I think if Walker could have written about the Mississippi Mud Pie they had for dessert one night for all of the senses he would have- instead he just used it for taste. Here is my favorite Mississippi Mud Pie recipe- enjoy!
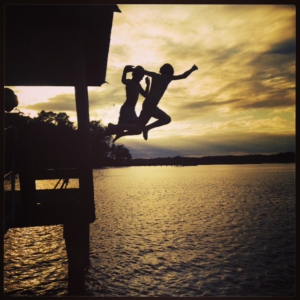 We spent a glorious day on Saturday with friends on a dock. The light at the end of the day was so beautiful, and watching Walker and his friend jumping in the water and swimming, it really was a golden afternoon. It reminded me of a soup I had a while ago called Golden Cream Soup- delicious name and even more delicious soup. As we say goodbye to our last days of summer and welcome in the cooler days, I love having a good stockpile of yummy soup recipes, and this is a great one.
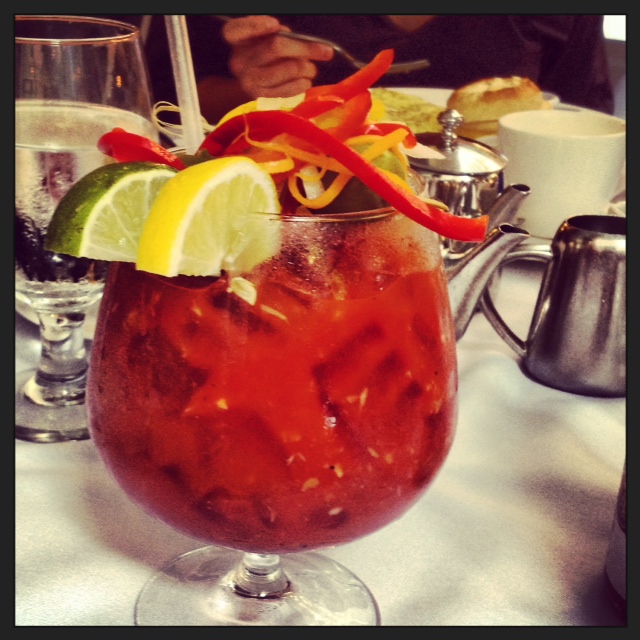 It is one of the all time great debates- how to make the perfect Bloody Mary. Of course, this is all dependent on people’s tastes etc, but what I think makes the perfect Bloody Mary for me is what leads up to drinking it. This past weekend we went to visit my sister in New York. She and her family just got back from their year in Vietnam at the end of August. We arrived Friday afternoon and hung out in Central Park at the play ground after the girls got out of school. Corby and I then met up with some friends at Tao for dinner. It is a delicious Pan Asian place with a 30 foot tall Buddha and koi pond- pretty spectacular. My brother and his wife arrived Friday evening and we all met up at my sister’s for late night cocktails to celebrate all being together. Saturday was the perfect early Fall day with crisp weather in the morning turning into a glorious day in the park. Corby and I had a great run in Central Park around the reservoir and then went to meet up with everyone for brunch. We ate at Sarabeth’s on Central Park South. As anyone who has ever tried to eat brunch in New York City with 7 people, you can definitely expect a wait. We were hoping it wouldn’t be longer than half an hour. My sister went in to put our names on the list as we waited on the sidewalk and came back out with an incredulous look on her face. They could seat us immediately. It was nothing less than a miracle. We were ushered to a back table by the window and sat down still stunned that we were actually sitting down. This all leads us to what I think is the makings for a perfect Bloody Mary. And while, because of the circumstances, it didn’t even really matter what was in it, it was really something special- horseradish, worcestershire, tabasco, and practically a salad on top. It was a thing of beauty- see the picture. So my theory on the perfect Bloody Mary is not the ingredients but the lead up to the drink that makes it perfect. However, here is my favorite recipe.
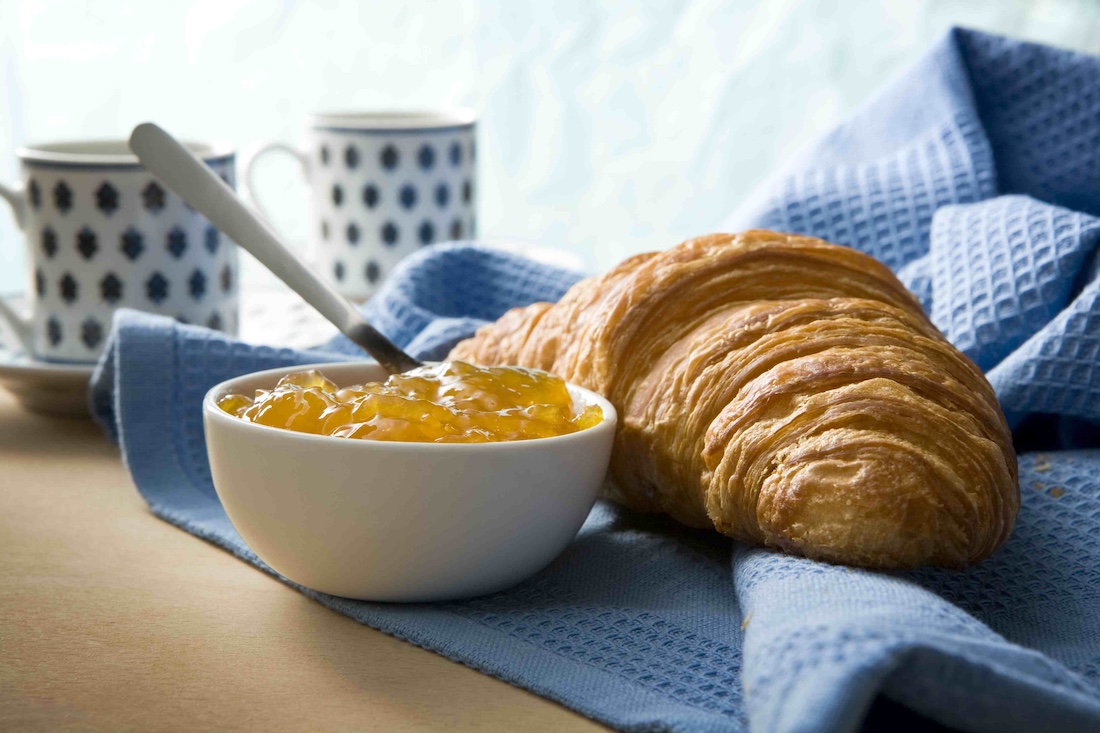 On Sunday, Corby and I walked up to the Starbucks to get an iced coffee and my weirdo son Walker a hot chocolate. I say weirdo affectionately and only because it was 90 degrees outside, and who wants a hot chocolate when it is 90 degrees? Corby also got a croissant. I love a croissant. They are buttery and flaky and make me want to live in France. The great thing about croissants is that they can be used for so many things. They are exceptional for breakfast with jam or butter. They make a sandwich extra special when used as the bread. And they add something extra to dinner when they are served as the dinner roll. Also, when you dip them in coffee or hot chocolate, it is sublime. Here is a great croissant recipe from allrecipes.com. Hope you enjoy as much as I do.
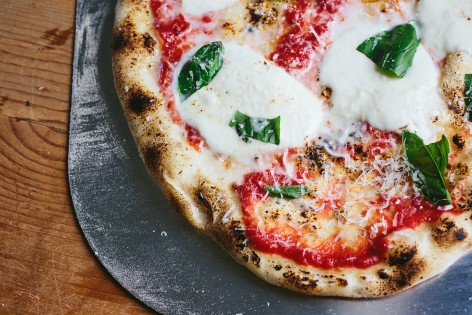 A new Italian restaurant opened in Charleston a couple of months ago, and I had dinner there yet again last night, and again, it was fabulous! I was there with some girhttps://thesouthwillrise.com/wp-admin/post-new.phplfriends, and we started out with the butter bean puree, Castelvetrano olives, and the 24-month aged American Iberico prosciutto. All of it was amazing- especially the prosciutto. We also had the pork trotters, which is one of my favorites on the menu, and all I can say about them is they are ridiculous. We were talking with one of the owners who came over to say hello (did I mention how amazing the service is??), and he was saying that it used to be a restaurant needed to specify if it was a Northern Italian or Southern Italian restaurant, but that Indaco didn’t do that. They just put really good food on the menu. I really love that sentiment. Instead of trying to cater to a certain theme, its just really good food. I mean, really good! We then had several of the pizzas and the eggplant lasagnette. The pizzas are to die for, and while I did not think that I enjoyed eggplant, it turns out I do- amazing. One of the pizzas we had was an eggplant pizza with tomato, ricotta, buffalo mozzarella, and grana padano. It was truly delicious. So, here is a recipe I found for easy eggplant pizza, and while it won’t be as good as Indaco (only because I don’t have a wood fire pizza oven- ha) it will tide me over til the next time I find a reason to go to my new favorite place! (The picture is from the Indaco website www.indacocharleston.com of one of the pizzas.)
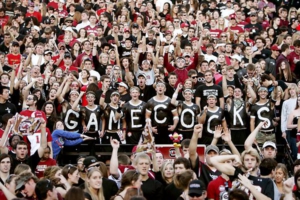 It is Friday of Labor Day weekend which to me officially is the end of summer. One last weekend at the beach before we hope the weather turns a bit cooler. However, as sad as I am about summer being over, it also means that college football has started again. South Carolina kicked off the season last night against the Tarheels, and yesterday, the whole atmosphere in Charleston was all about college football. Clearly, tailgates are my favorite part of the whole football season- I am starting to enjoy watching the games a lot more, especially since I recognize some of the names of the players. But really, it is all about the food. I was looking on-line today for some great tailgate recipes, and I found it very amusing that the breakfast burrito showed up in a lot of lists- as this is for the serious tailgater who is there in time for breakfast. So, here is my favorite breakfast burrito recipe in honor of those tailgaters who can last all day.
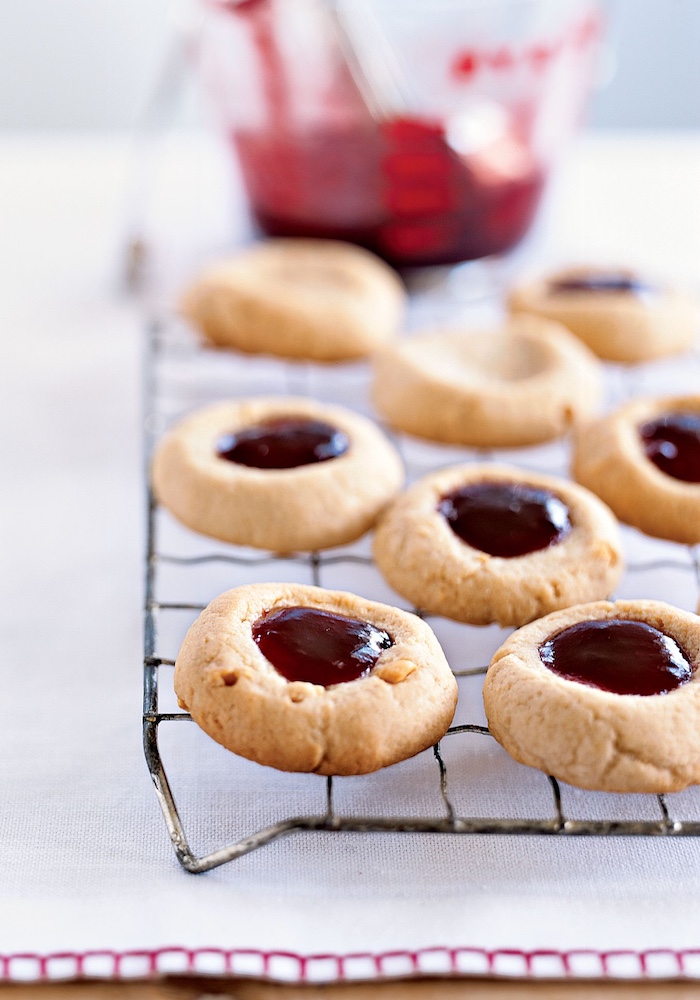 We have survived the first week back to school- it actually was relatively easy. Walker came home the first day saying that he had the best group of teachers which is always good, and more importantly, he has not had too much trouble waking up in the morning. The main change in school this year according to Walker is that they redid the lunch room and got a new lunch service company. He is very impressed. Gone are the days of peanut butter and jelly sandwiches every day which is what I had for lunch long long ago in my school days. I really do love a good peanut butter sandwich, but of course better than that is a peanut butter cookie. I saw these very fun cookies on Martha Stewart.com and thought they were a perfect “back to school” treat.