Peanut Butter and Jelly Cookies
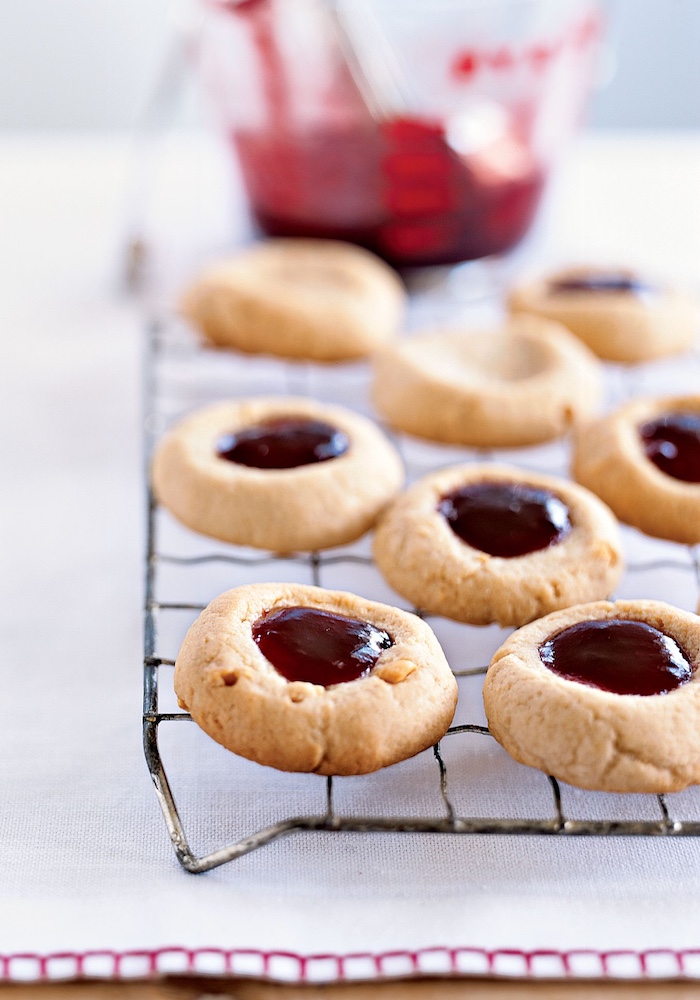 We have survived the first week back to school- it actually was relatively easy. Walker came home the first day saying that he had the best group of teachers which is always good, and more importantly, he has not had too much trouble waking up in the morning. The main change in school this year according to Walker is that they redid the lunch room and got a new lunch service company. He is very impressed. Gone are the days of peanut butter and jelly sandwiches every day which is what I had for lunch long long ago in my school days. I really do love a good peanut butter sandwich, but of course better than that is a peanut butter cookie. I saw these very fun cookies on Martha Stewart.com and thought they were a perfect “back to school” treat.
Peanut Butter and Jelly Cookies
Ingredients:
1 1/4 cups all-purpose flour
1/2 teaspoon baking powder
1/2 teaspoon baking soda
1/2 teaspoon salt
3/4 cup smooth peanut butter
4 ounces (1 stick) unsalted butter, softened
1/3 cup packed light-brown sugar
1/3 cup granulated sugar, plus more for rolling
1 large egg
1 teaspoon pure vanilla extract
1/2 cup raspberry jam
Directions:
Preheat oven to 350 degrees. Whisk together flour, baking powder, baking soda, and salt. Beat peanut butter and butter with a mixer on medium speed until smooth. Add sugars, and beat until pale and fluffy. Add egg and vanilla, and beat until incorporated. Reduce speed to low. Add dry ingredients, and mix until combined.
Scoop level tablespoons of dough, and form into balls. Roll each ball in granulated sugar, and transfer to parchment-lined baking sheets, spacing about 2 inches apart.
Bake until cookies are puffy, about 10 minutes. Remove from oven, and make indentations in centers by pressing with the handle end of a wooden spoon. Return to oven, and bake until edges are golden, 6 to 7 minutes more. Transfer sheets to wire racks, and let cool completely.
 This past weekend we spent Friday night out at the Sanctuary at Kiawah Island- a “staycation” if you will. It was absolutely wonderful. I felt like I had been on vacation for a week and we weren’t even there 24 hours. We arrived on Friday afternoon. It had been raining the whole day in Charleston, but just 45 minutes away, it had not rained at all. We sat by the pool for a cocktail and then met some friends on the beach. After that, we had drinks in the lobby bar with some other friends we ran into who were doing the same thing. We then walked up to The Ocean Room, sat at the bar and had a fabulous dinner. Corby got the steak and I had the pesto gnocchi- delicious! We were then “talked” into getting dessert. It was going to be a very tough decision but fortunately they had a dessert trio which included the two things I wanted to try- the carrot cake doughnuts and the chocolate and malt. I can’t remember what the third was but I am sure I enjoyed it. However, I do remember the carrot cake doughnuts very well. Amazing. They were served with cream cheese ice cream and a caramel sauce. And of course since it was a carrot cake doughnut, that means it was healthy because of the carrot- right? Either way, they were really special. The next morning we went for a long walk on the beach and then sat at the pool for many hours until it was time to go home and pick up the dog. It really was a phenomenal night/day/vacation. Now, Walker is finally home after two and a half months of being away and school starts tomorrow- how has the summer gone by so quickly? I dug around this morning to find a recipe for the carrot cake doughnuts that might make the first morning of school a little more bearable.
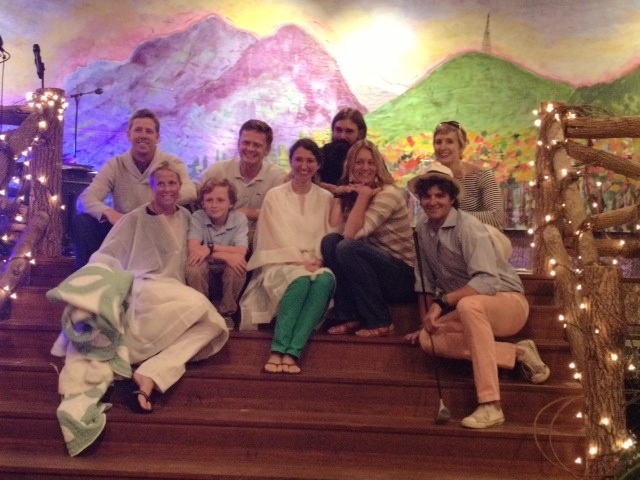 We are finally home in Charleston, and while we had a great time, it is so good to be back. The last week we spent up in Linville, NC, getting ready for the Fancy Dress Ball. This year, instead of family with us, we had some of our closest friends up to participate in the fun. We all had a great time, and Walker was quite the motivator as Saturday wore on, and we had no plan for what to do. We ended up coming up with a very funny and very short skit that my brother, who was up with us, MC’d wonderfully. While we didn’t take home first prize, we did take home 4th, which for the amount of effort we put in (minimal), we were all incredibly happy. Saturday evening turned into very early Sunday morning quickly, and by the time we all went to bed, we knew the rest of Sunday was going to be a bit rough. I don’t drink coffee, which is a problem on these mornings, and I was trying to find something that would help me on our long drive home. I did not find this recipe until today, but I think if I had had the forethought to make this on Saturday in anticipation of Sunday, this would have been a nice little breakfast treat!
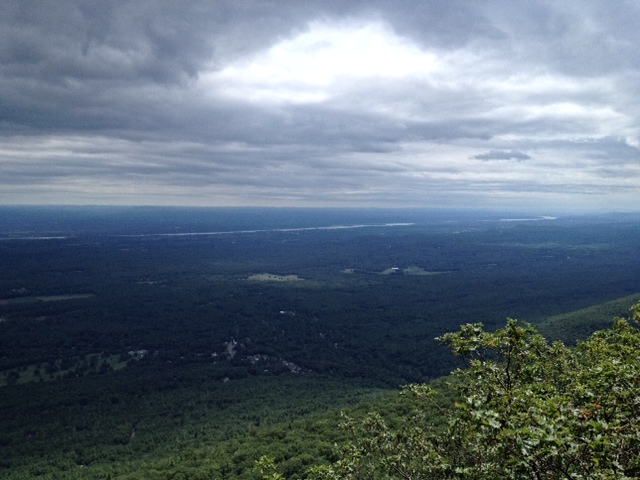 The temperature has dropped to a very lovely 68 degrees, and I went for a great ten-mile hike this morning. Well, it was only supposed to be about 6 miles, but I got lost, and I saw a bear, so it ended up being about 10 miles. The bear didn’t have anything to do with getting lost; it was just kind of exciting. When I finally got to where I wanted to go in the first place, the view was so magnificent that the extra 4 miles were worth it. Here is the view. Also, in the last couple of weeks, we have gone to breakfast at a wonderful spot down in Phoenicia called Sweet Sue’s. I am having a hard time thinking of a breakfast that I have enjoyed more. But, by far and away, the ginger snap cookie we had as an appetizer (yes, we had a cookie as an appetizer before breakfast) was ridiculous. I could eat a lot of those cookies. A whole lot of them. While I can’t quite recreate it, here is the recipe that comes closest.
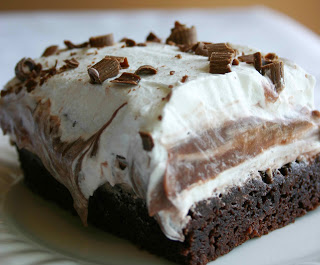 Pinterest always makes me hungry. I love looking at the wonderful food photography, and all of the recipes are great. I did read a really funny quote from DJ Joe Kelly about all of the food photography that is constantly on Facebook and Pinterest. He said:
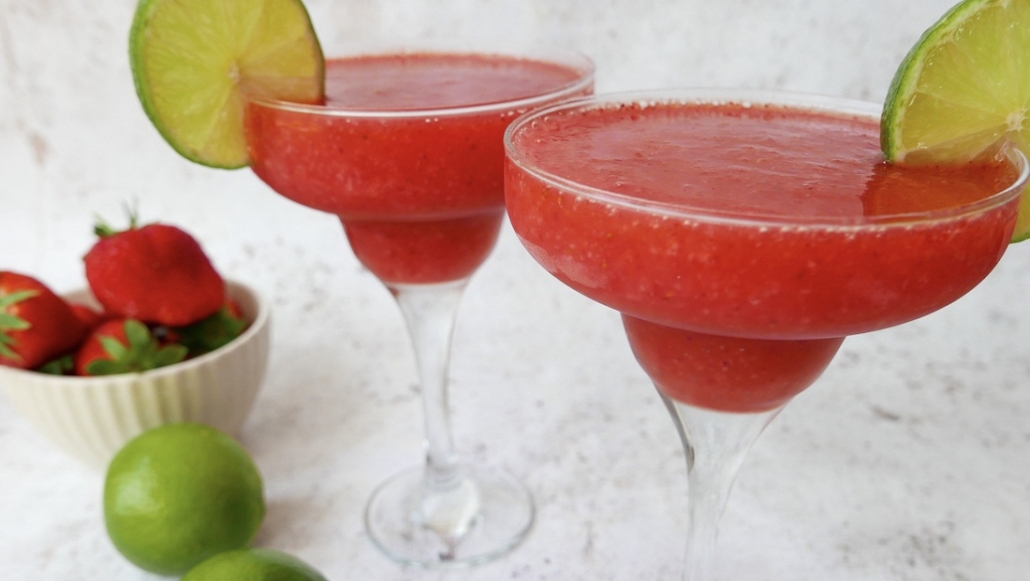 Tomorrow is Walker’s last day of 4th grade. He keeps saying he can’t believe how quickly the year went by. I can’t believe how quickly the year went by. The years somehow keep getting faster. Fortunately, while summer does seem to disappear on me too quickly as well, I am looking forward to enjoying the long lazy days ahead. Walker heads to camp for three weeks next week, and everyone keeps asking what I am going to do- the answer is nothing. I am pretty excited about it. Well, nothing is a relative term because I do plan on making strawberry daiquiris and sitting on my porch. Here is my favorite daiquiri recipe- hope you enjoy it as much as I plan to.
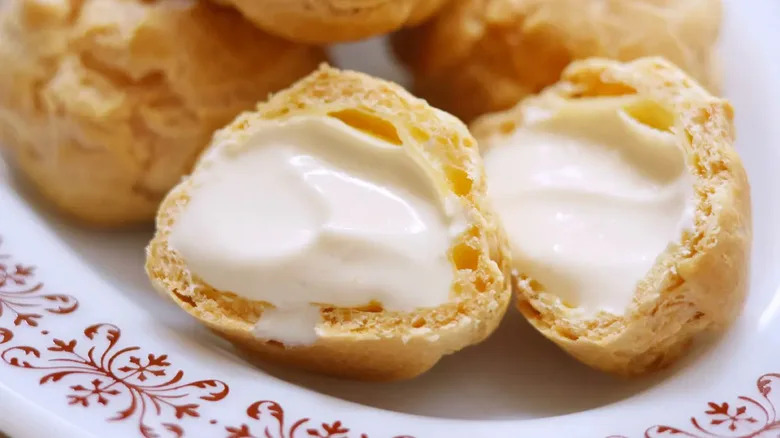 Happy Memorial Day! We spent a wonderful weekend out on boats and at the beach. The weather could not have been more perfect, and I am now convinced that every tourist who is currently in Charleston wants to move here, so I should probably get my real estate license as opposed to my continuous attempts at baking. However, baking is clearly more fun. We are grilling out tonight, and I am going to make cream puffs for dessert. I am pretty excited about it. I know that most people just cut the puffs open and fill with pudding or custard that way, but I am going to try to fill them without cutting them in half- it will probably be a huge mess but should be fun. Because I love vanilla custard, that is with what they will be filled. I might make chocolate custard as well, but we will see how it goes.