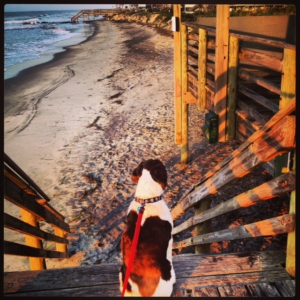
 I feel like we had our last real summer weekend this past weekend. My brother and his wife invited us out to a beach house they had rented on Folly Beach for Friday night. We went to Taco Boy for dinner and then sat around talking and listening to the ocean. Saturday morning I got up early and took Nemo for a walk. As we watched the surfers and the ocean, I thought back on our summer and how wonderful it was, and for some reason, I remembered the cannoli ice cream that we had up in the Catskills. It is one of those flavors of ice cream that you don’t find very often, and the memory of it comes back at random times and just makes you happy that you were lucky enough to have tried it when you had the chance. It is also one of those things that I will leave to the professionals. Cannoli, however, I can do. Here is a great recipe that I love.
Cannoli
Ingredients:
Shells:
3 cups all-purpose flour
1/4 cup white sugar
1/4 teaspoon ground cinnamon
3 tablespoons shortening
1 egg
1 egg yolk
1/2 cup sweet Marsala wine
1 tablespoon distilled white vinegar
2 tablespoons water
1 egg white
1 quart oil for frying, or as needed
Filling:
1 (32 ounce) container ricotta cheese
1/2 cup confectioners’ sugar
1 cup chopped candied citron
4 ounces semisweet chocolate, chopped
(optional)
Directions:
In a medium bowl, mix together the flour, sugar and cinnamon. Cut in the shortening until it is in pieces no larger than peas. Make a well in the center, and pour in the egg, egg yolk, Marsala wine, vinegar and water. Mix with a fork until the dough becomes stiff, then finish it by hand, kneading on a clean surface. Add a bit more water if needed to incorporate all of the dry ingredients. Knead for about 10 minutes, then cover and refrigerate for 1 to 2 hours.
Divide the cannoli dough into thirds, and flatten each one just enough to get through the pasta machine. Roll the dough through successively thinner settings until you have reached the thinnest setting. Dust lightly with flour if necessary. Place the sheet of dough on a lightly floured surface. Using a form or large glass or bowl, cut out 4 to 5 inch circles. Dust the circles with a light coating of flour. This will help you later in removing the shells from the tubes. Roll dough around cannoli tubes, sealing the edge with a bit of egg white.
Heat the oil to 375 degrees F (190 degrees C) in a deep-fryer or deep heavy skillet. Fry shells on the tubes a few at a time for 2 to 3 minutes, until golden. Use tongs to turn as needed. Carefully remove using the tongs, and place on a cooling rack set over paper towels. Cool just long enough that you can handle the tubes, then carefully twist the tube to remove the shell. Using a tea towel may help you get a better grip. Wash or wipe off the tubes, and use them for more shells. Cooled shells can be placed in an airtight container and kept for up to 2 months. You should only fill them immediately or up to 1 hours before serving.
To make the filling, stir together the ricotta cheese and confectioners’ sugar using a spoon. Fold in the chopped citron and chocolate. Use a pastry bag to pipe into shells, filling from the center to one end, then doing the same from the other side. Dust with additional confectioners’ sugar and grated chocolate for garnish when serving.

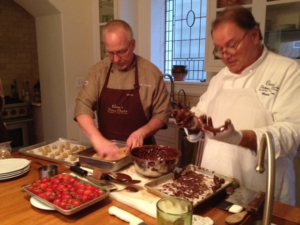 This past Saturday, we were invited to a friend’s house for a chocolate-making lesson, which might be the best kind of lesson ever. Chefs Mark Gray and David Vagasky have started Cacao’s Artisan Chocolate in Charleston (www.cacaoscharleston.com), and their chocolate is really, really amazing. They sell their chocolates in Southern Season in both Charleston and Chapel Hill, as well as online.
 Walker was at the other end of the counter, right by the chefs, and much to his delight and my half-hearted dismay, he ate his weight in samples. At one point, Chef Gray gave him a piece and said, “It will melt in your mouth.” Walker ate the piece, and with delighted surprise, he exclaimed, “It melted in my mouth, it really melted in my mouth- right then!”
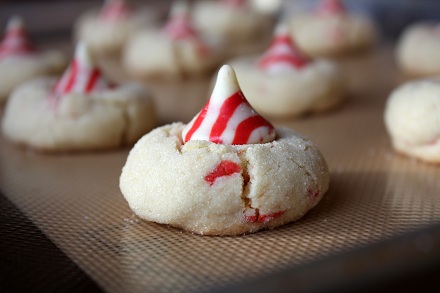 My sister-in-law is an excellent baker. She makes the best chocolate chip cookies, brownies, etc, and she is incredibly generous with her baking. I am not sure where she finds the time as she is also a lawyer. We went to an oyster roast this past weekend with her and my brother, and she brought for the hosts a mason jar filled with peppermint brownies on the bottom and ginger snaps on top all tied with a pretty ribbon and hand made note card. I brought nothing (except Michelob Ultra Light in my purse because I knew that they would only have dark fancy beer to drink- pretty classy of me). Anyway- they were giving us a ride home before they were headed to another party where she had another mason jar filled with treats, and fortunately, they were both tired, so at the last minute decided not to go to the other party, and we got the mason jar! So, one I should be better about hostess gifts and two, I looked up some ideas for baked gifts, and these peppermint kiss cookies (from www.raininghotcoupons.com) looked like they would be great.
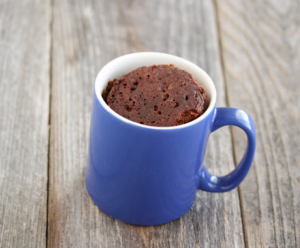 I did not grow up with Nutella, and I actually only tried it about two years ago. It was ok, but I didn’t love it. I have never bought Nutella nor made anything with Nutella and to be honest, I don’t really get it. Is it healthy chocolate because friends I know who are real health nuts feed their children Nutella sandwiches- which is just a chocolate sandwich right? However, I think I will change my tune because this Nutella Mug Cake looks so easy, so yummy and you can just make one when you need a chocolate fix and top it with ice cream, whip cream or whatever you desire- so perfect.
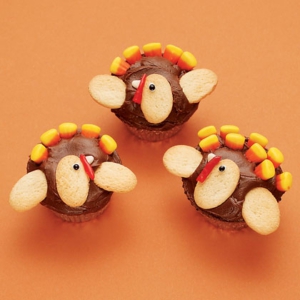 I can’t believe it is Thanksgiving week already!! We are headed up to the mountains tomorrow, and thanks to Mother Nature, it looks like it will be absolutely freezing up there with hopefully some snow. My sister and her family are driving down from New York, and Walker can’t wait to see his cousins. He is especially excited because we bought my two nieces Rainbow Looms as an early Christmas present and as a good way to take up a lot of time in the house when it is too cold to go outside. Walker, as a ten year old boy, does not want a Rainbow Loom for himself, but he is super excited to play with his cousin’s new loom. If you have not heard of a Rainbow Loom- it is the new fad way to make bracelets out of little rubber bands. I am amazed at the huge amount of add ons that you can buy for your Rainbow Loom- loom cases, extra bands, carry cases to carry you loom case- it goes on and on. In addition to the Rainbow Looms, I was digging around to find fun kitchen projects for the kids, and these Turkey cupcakes looked perfect. (Picture from FamilyFun Magazine and recipe from www.spoonful.com)
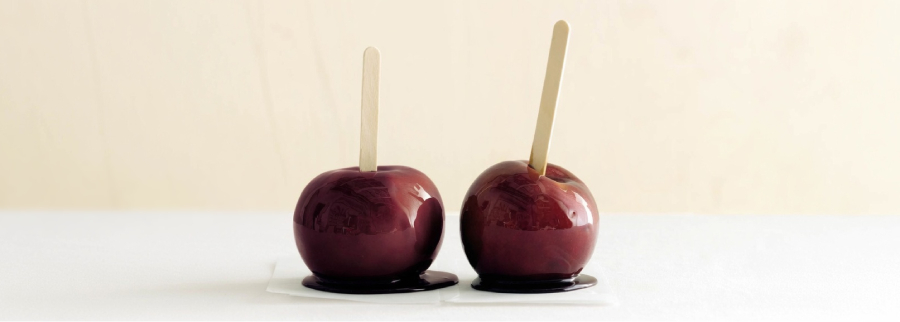 This just might be heaven. This recipe popped up on my Yahoo.com home page, and this might be the perfect adult Halloween treat. I would definitely be in an apple bobbing contest for these- so fun.
 We just spent a wonderful long weekend up in Western North Carolina with friends, and the leaves could not have been better. We sat by the fire, we hiked, and we ate a ton. I hated for it to end. Here is a picture from on of our hikes from the top of Hawksbill. The weekend definitely got me in the mood for fall recipes, and while searching for some today, I came across this tasty number on www.delish.com for pecan shortbread with chocolate drizzle. What a great combo- I can’t wait to try it.
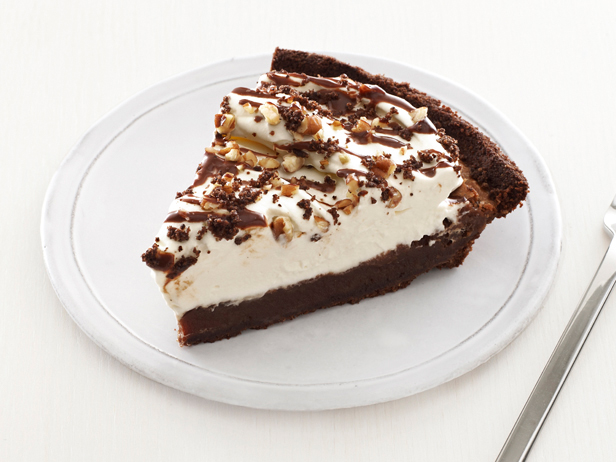 Walker spent four days out at Camp St. Christopher on Seabrook Island with his grade- 75 10 year olds. I don’t think you could have paid me to be a chaperone for that field trip. They had a ball playing in the mud pit and learning more about the lowcountry natural life. They had to keep a journal and when they got back, they had to right a paragraph on all of the senses- what they heard, saw, tasted, smelled, felt. I think if Walker could have written about the Mississippi Mud Pie they had for dessert one night for all of the senses he would have- instead he just used it for taste. Here is my favorite Mississippi Mud Pie recipe- enjoy!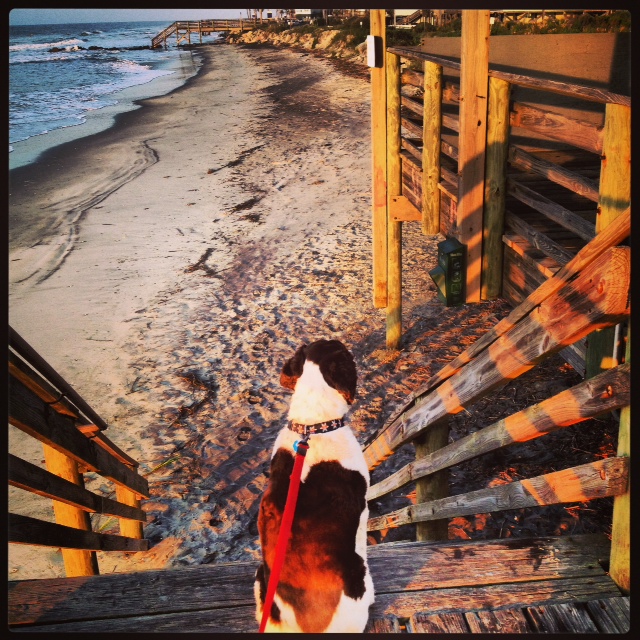
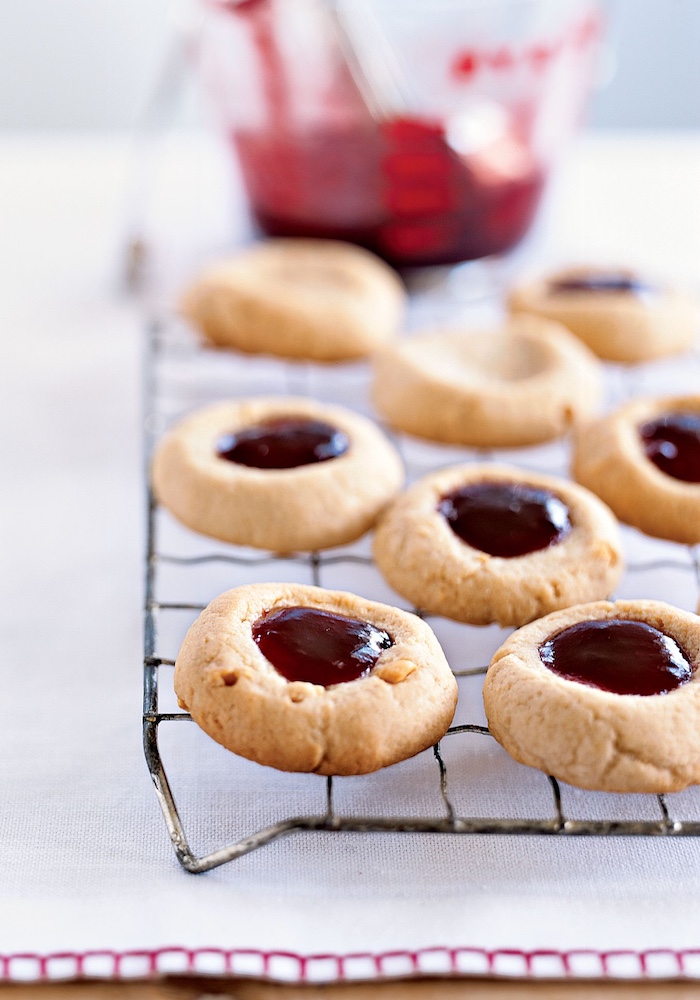 We have survived the first week back to school- it actually was relatively easy. Walker came home the first day saying that he had the best group of teachers which is always good, and more importantly, he has not had too much trouble waking up in the morning. The main change in school this year according to Walker is that they redid the lunch room and got a new lunch service company. He is very impressed. Gone are the days of peanut butter and jelly sandwiches every day which is what I had for lunch long long ago in my school days. I really do love a good peanut butter sandwich, but of course better than that is a peanut butter cookie. I saw these very fun cookies on Martha Stewart.com and thought they were a perfect “back to school” treat.