
End of Summer = College Football
 It is Friday of Labor Day weekend which to me officially is the end of summer. One last weekend at the beach before we hope the weather turns a bit cooler. However, as sad as I am about summer being over, it also means that college football has started again. South Carolina kicked off the season last night against the Tarheels, and yesterday, the whole atmosphere in Charleston was all about college football. Clearly, tailgates are my favorite part of the whole football season- I am starting to enjoy watching the games a lot more, especially since I recognize some of the names of the players. But really, it is all about the food. I was looking on-line today for some great tailgate recipes, and I found it very amusing that the breakfast burrito showed up in a lot of lists- as this is for the serious tailgater who is there in time for breakfast. So, here is my favorite breakfast burrito recipe in honor of those tailgaters who can last all day.
Breakfast Burritos
Ingredients:
12 eggs
2/3 cup milk
1/2 teaspoon salt
2 tablespoons butter
1 pound bulk pork sausage
2 tablespoons minced garlic
1/2 red onion, diced
20 (6 inch) flour tortillas
1 tomato, diced
1/4 cup chopped fresh cilantro
1 package taco seasoning
1 1/2 cups shredded Cheddar cheese
1 can diced jalapenos (optional)
Directions:
Whisk together the eggs, milk, and salt in a large bowl. Heat butter in a large skillet over medium-high heat. Pour in the egg mixture; cook and stir until eggs are completely set, about 5 minutes. Chop the cooked eggs and place in a large bowl. Set aside.
Heat a large skillet over medium heat and stir in the sausage and garlic. Cook and stir for 5 minutes, then add the onion. Continue cooking and stirring until the sausage is crumbly, evenly browned, and no longer pink. Drain and discard any excess grease. Combine the sausage with the eggs, tomato, cilantro, jalapeno, and taco seasoning. Allow mixture to cool to room temperature, then stir in the Cheddar cheese.
Place a tortilla onto your work surface, then spoon some of the filling halfway between the bottom edge and the center of the tortilla. Flatten the filling into rectangle shape with the back of a spoon. Fold the bottom of the tortilla snugly over the filling, then fold in the left and right edges. Roll the burrito up to the top edge, forming a tight cylinder. Repeat with the remaining ingredients.
Tightly wrap individual burritos with plastic wrap and freeze until ready to serve. Heat in the microwave until hot, 3 to 4 minutes, before serving.
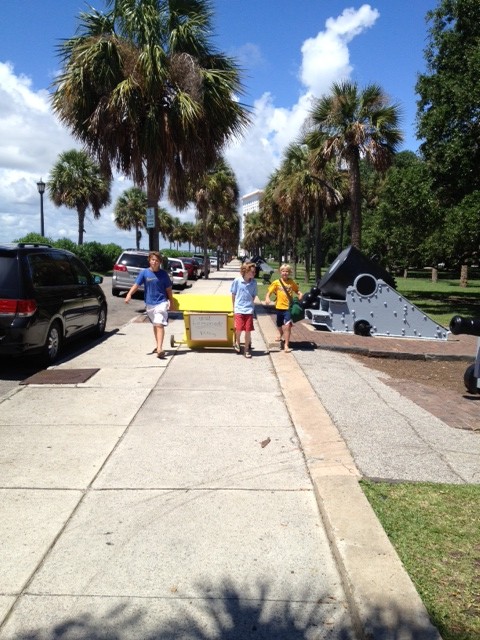
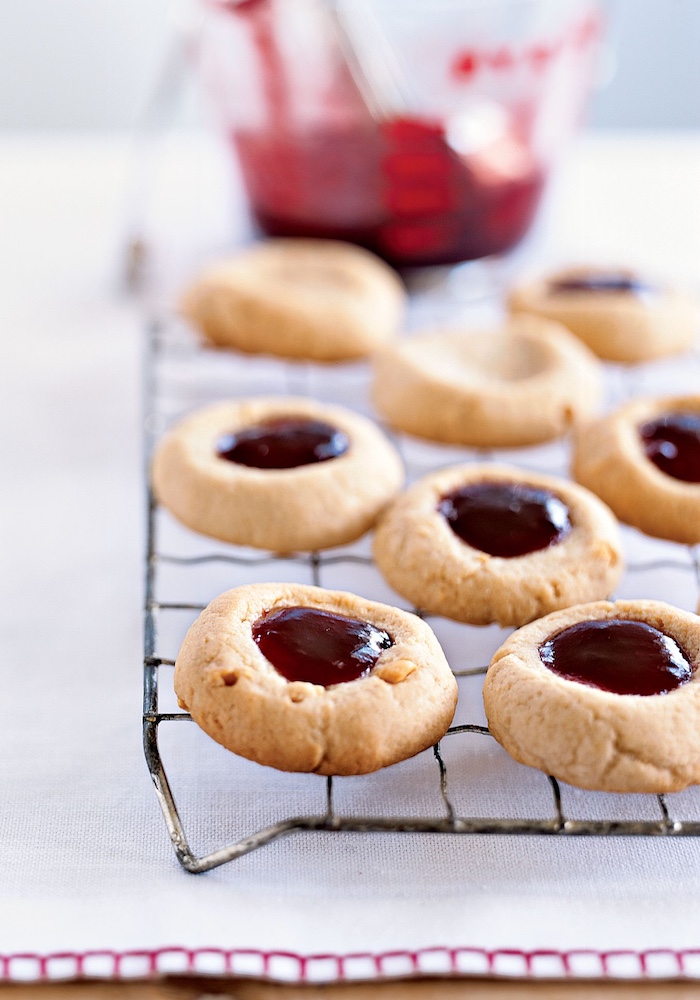 We have survived the first week back to school- it actually was relatively easy. Walker came home the first day saying that he had the best group of teachers which is always good, and more importantly, he has not had too much trouble waking up in the morning. The main change in school this year according to Walker is that they redid the lunch room and got a new lunch service company. He is very impressed. Gone are the days of peanut butter and jelly sandwiches every day which is what I had for lunch long long ago in my school days. I really do love a good peanut butter sandwich, but of course better than that is a peanut butter cookie. I saw these very fun cookies on Martha Stewart.com and thought they were a perfect “back to school” treat.
 This past weekend we spent Friday night out at the Sanctuary at Kiawah Island- a “staycation” if you will. It was absolutely wonderful. I felt like I had been on vacation for a week and we weren’t even there 24 hours. We arrived on Friday afternoon. It had been raining the whole day in Charleston, but just 45 minutes away, it had not rained at all. We sat by the pool for a cocktail and then met some friends on the beach. After that, we had drinks in the lobby bar with some other friends we ran into who were doing the same thing. We then walked up to The Ocean Room, sat at the bar and had a fabulous dinner. Corby got the steak and I had the pesto gnocchi- delicious! We were then “talked” into getting dessert. It was going to be a very tough decision but fortunately they had a dessert trio which included the two things I wanted to try- the carrot cake doughnuts and the chocolate and malt. I can’t remember what the third was but I am sure I enjoyed it. However, I do remember the carrot cake doughnuts very well. Amazing. They were served with cream cheese ice cream and a caramel sauce. And of course since it was a carrot cake doughnut, that means it was healthy because of the carrot- right? Either way, they were really special. The next morning we went for a long walk on the beach and then sat at the pool for many hours until it was time to go home and pick up the dog. It really was a phenomenal night/day/vacation. Now, Walker is finally home after two and a half months of being away and school starts tomorrow- how has the summer gone by so quickly? I dug around this morning to find a recipe for the carrot cake doughnuts that might make the first morning of school a little more bearable.
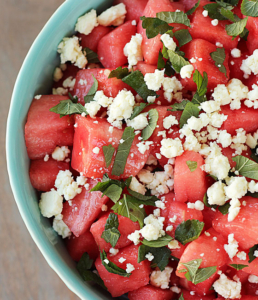 We had a great weekend celebrating a friend’s 40th birthday, for which I made the cake (of course, in the shape of a 40- it was pretty awesome), and we had a super fun Sunday beach day yesterday. However, despite all of the fun in the sun, it is really hot. I know it is summer, but I mean it is really hot. We have or now had tickets to see one of my favorite bands, The Killers, tomorrow night at the Family Circle Tennis Center, which most of the time is a fantastic place to see a concert, but I actually sold our tickets yesterday on Craigslist because at 8:30 am yesterday, it felt like 95 degrees outside. That does not bode well for an early evening outdoor concert. So, what to eat in the heat? Watermelon, obviously, and what better than a watermelon salad! Here is a great recipe with Feta Cheese.
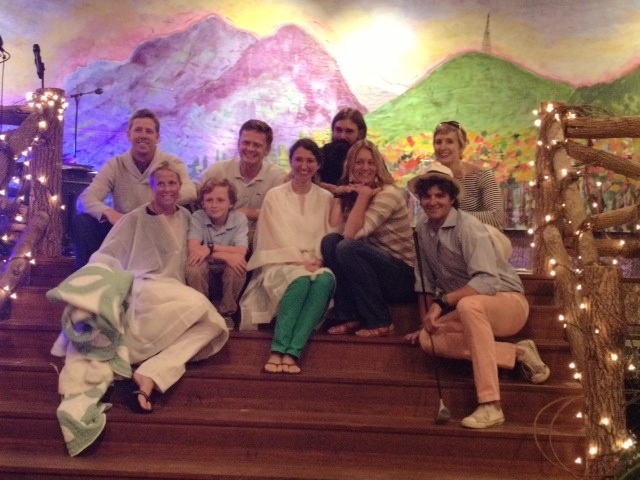 We are finally home in Charleston, and while we had a great time, it is so good to be back. The last week we spent up in Linville, NC, getting ready for the Fancy Dress Ball. This year, instead of family with us, we had some of our closest friends up to participate in the fun. We all had a great time, and Walker was quite the motivator as Saturday wore on, and we had no plan for what to do. We ended up coming up with a very funny and very short skit that my brother, who was up with us, MC’d wonderfully. While we didn’t take home first prize, we did take home 4th, which for the amount of effort we put in (minimal), we were all incredibly happy. Saturday evening turned into very early Sunday morning quickly, and by the time we all went to bed, we knew the rest of Sunday was going to be a bit rough. I don’t drink coffee, which is a problem on these mornings, and I was trying to find something that would help me on our long drive home. I did not find this recipe until today, but I think if I had had the forethought to make this on Saturday in anticipation of Sunday, this would have been a nice little breakfast treat!