Chocolate Cheese Layered Bars

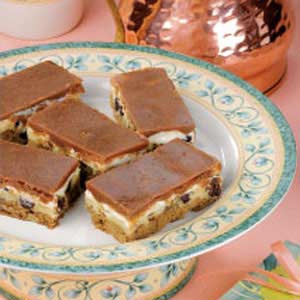
I am always on the hunt for new recipes- especially ones that involve cheese or chocolate.  This is the first time I have come across one that has both, and while that might be a little intimidating at first, these chocolate cheese layered bars are fantastic!  It is cream cheese which is maybe better than trying to mix a sharp cheddar with chocolate- but who knows- that might be pretty awesome as well.  Either way- you should definitely try these bars.


Chocolate Cheese Layered Bars
Ingredients:

1/2 cup butter, softened
1 cup sugar
2 eggs
1 ounce unsweetened chocolate, melted
1 teaspoon vanilla extract
1 cup all-purpose flour
1 teaspoon baking powder
1/2 cup chopped pecans

CHEESE LAYER:

6 ounces cream cheese- softened
1/4 cup butter, softened
1/2 cup sugar
1 egg
2 tablespoons all-purpose flour
1/2 teaspoon vanilla extract
1/4 cup chopped pecans
1 cup (6 ounces) semisweet chocolate chips
3 cups miniature marshmallows

TOPPING:

1/4 cup butter

2 ounces cream cheese- softened
1 ounce unsweetened chocolate
2 tablespoons milk
3 cup confectioners’ sugar
1 teaspoon vanilla extract

Directions:

In a large bowl, cream butter and sugar until light and fluffy. Beat
in eggs. Beat in chocolate and vanilla until well blended. Combine
flour and baking powder; stir into chocolate mixture. Fold in
pecans. Pour into a greased 13-in. x 9-in. baking pan.

In another large bowl, combine cream cheese and butter. Beat in the
sugar, egg, flour and vanilla until well combined. Fold in pecans.
Spread over the chocolate layer; sprinkle with chips.

Bake at 350° for 20-25 minutes or until edges pull away from
sides of pan. Sprinkle with marshmallow; bake 2 minutes longer or
until puffed. Spread evenly over cream cheese layer. Cool on a wire
rack.

In a large saucepan, combine first four topping ingredients. Cook and
stir over low heat until smooth. Transfer to a large bowl. Add the
confectioners’ sugar and vanilla; beat until smooth. Spread over
cooled bars. Store in the refrigerator.

 

A Weekend in Savannah

We spent this past weekend in Savannah, GA.  Having never been there, I really didn’t know what to expect, and I was wonderfully surprised.  Of course I had heard Savannah was beautiful, but being from Charleston I am of course biased.  It really is a beautiful city.  We had perfect weather for walking around, and the squares were enchanting.  The first night, we wandered around until we found a great sidewalk restaurant where we could enjoy the weather and looking around.  It was called The Public and it was a great spot.  We then moseyed back to our hotel, The Bohemian and had a drink on their spectacular roof deck over looking the river.  The next day we explored the river front and then drove out to Tybee Island.  Tybee is a great old beach community, and we thoroughly enjoyed a late afternoon cocktail at the Tybee Island Social Club.  They bingo on Tuesday nights and I was very disappointed that it was not Tuesday.  That night we went to Local 11 Ten for dinner.  We started on their roof deck which was fantastic and then had an amazing dinner.  It was really amazing.  Sunday morning before driving home, we stopped at Goose Feathers Cafe for a quick breakfast.  I was still stuffed from the night before, but they had slices of coffee cake in the display that looked very interesting.  The woman told me they were made of pastry dough, a sweet cream filling and topped with cinnamon.  Of course, I got one, and it was so delicious.  I have now spent the better part of the day looking for some sort of recipe that even resembles what I had, and I can’t really find one.  There are tons of recipes for sour cream coffee cakes, but not many for sweet cream coffee cakes.  I did find one that comes from Taste of Home that I am going to try.  We will see if it comes close!

Cream Filled Coffee Cake

Ingredients:
1 1/4 cups milk
1/4 cup butter
1/3 cup sugar, plus
1 teaspoon sugar, divided
1 tablespoon salt
1 (1/4 ounce) package active dry yeast
1/4 cup warm water (110 to 115)
5 1/2-6 cups all-purpose flour, divided
3 eggs, well-beaten

STREUSEL TOPPING

1/4 cup sugar
1/4 cup packed brown sugar
2 tablespoons all-purpose flour
2 teaspoons ground cinnamon
1/4 cup butter

CREAM FILLING

1/4 cup all-purpose flour
3/4 cup milk
3/4 cup butter or 3/4 cup margarine
3/4 cup sugar
3/4 teaspoon vanilla extract
3 tablespoons confectioners’ sugar

Directions:

Heat milk, butter 1/3 cup sugar and salt; stir until the sugar dissolves. Set aside. Mix yeast, warm water and 1 teaspoon sugar; let stand 10 minutes. In a large mixing bowl, combine 3 cups flour, milk mixture, yeast and eggs; beat until smooth. Add enough of the remaining flour to form a soft dough. Turn out onto a lightly floured surface and knead until smooth, about 6-8 minutes. Place dough in a greased bowl, turning one to grease top. Cover and let rise until doubled, about 1 to 1-1/2 hours.Meanwhile, prepare topping. Combine sugars, flour and cinnamon in a bowl. Cut butter into dry ingredients; set aside. Punch dough down; divide in half. Pat or roll each half to fit a greased 9-in. cake pan. With a fork, pierce entire cake top. Divide topping and sprinkle over each cake. Cover and let rise in a warm place until doubled, about 1 hour. Bake at 350° for 20-25 minutes. Remove from pans and cool on wire racks. For filling, combine flour and milk in a saucepan; cook, stirring constantly, until mixture thickens. Cool. In a mixing bowl, cream remaining ingredients until well-mixed. Add flour mixture and beat until fluffy.  Cut each cake in half horizontally; spread each with half the filling.  Refrigerate until ready to serve.

Huguenot Torte

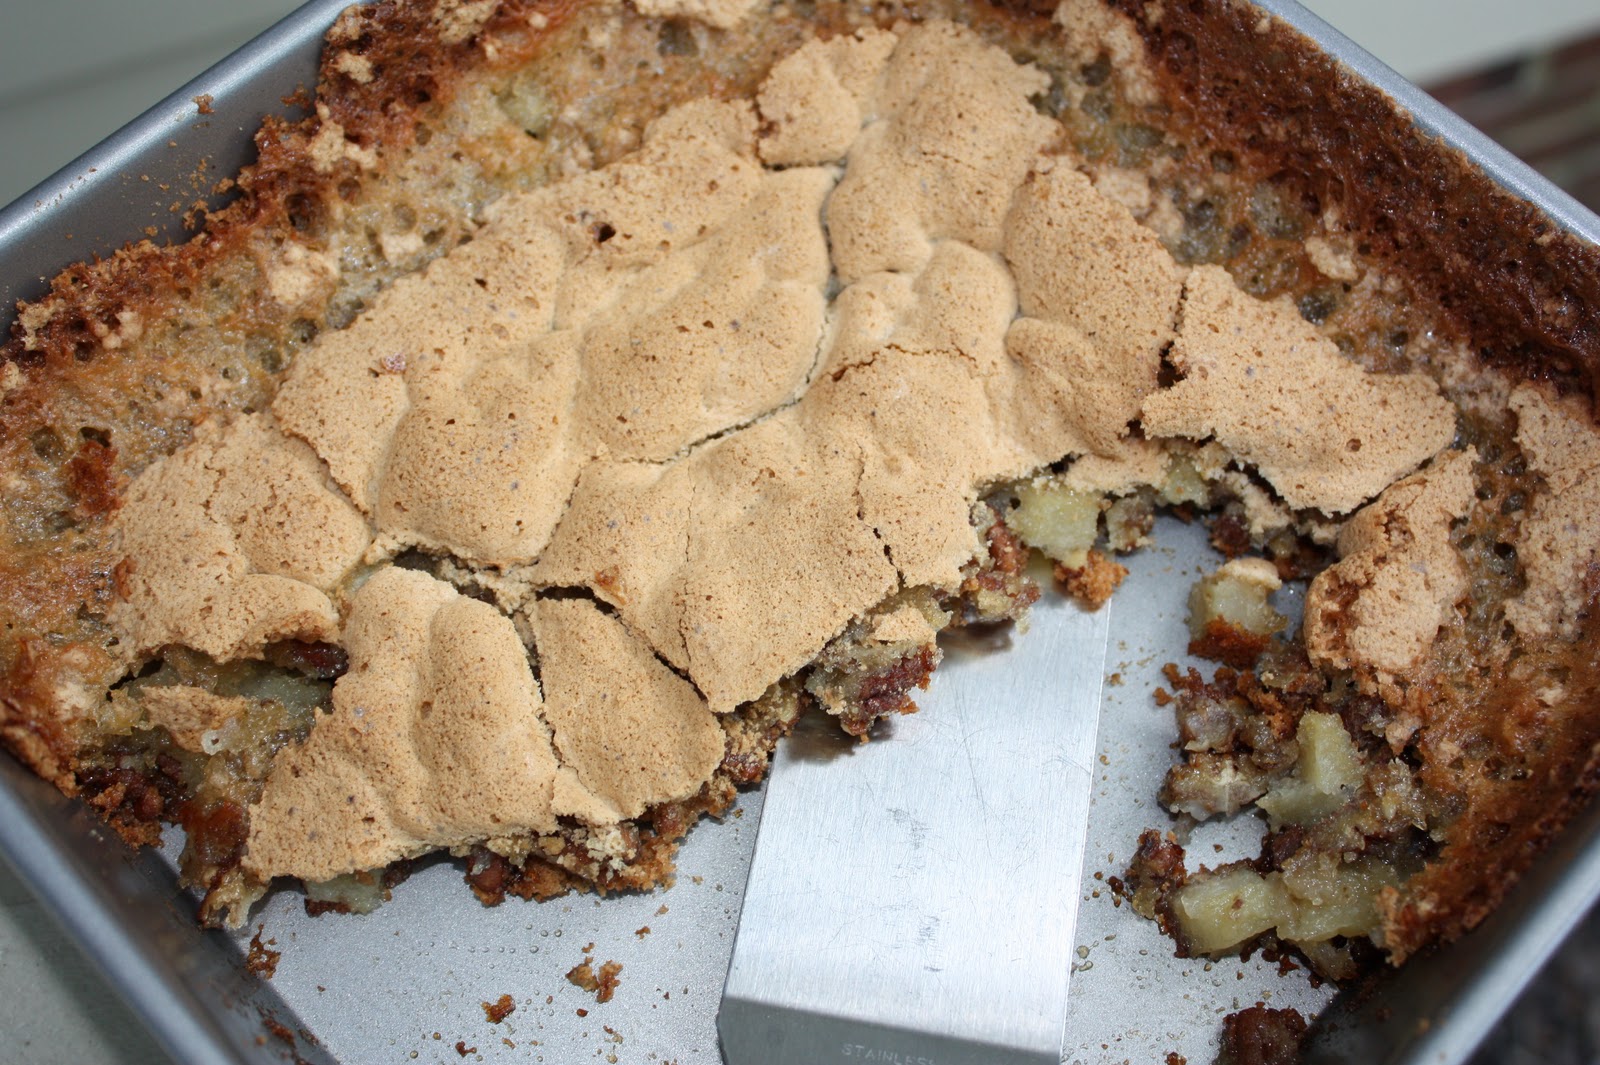
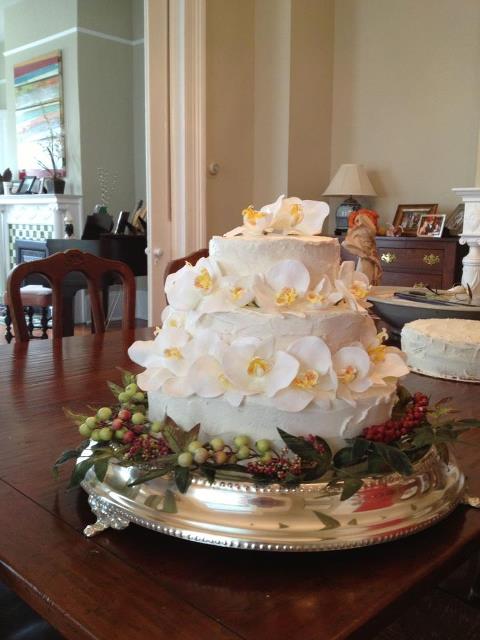
The wedding is done, and we had a fantastic weekend!  And the cake turned out well which I could not have done without the help of my dear college friend Lance!!  Thanks to her secret icing recipe and talking me through some basics, it all came together!  She is a fantastic baker, and if you live in Vermont or even if you don’t, you should check out her stuff on her facebook page Takes The Cake Vermont.   The photographer took better pictures, but I don’t have those yet, so here is the one I took at my house before transporting the cake.  The food was wonderful, the weather turned out well despite a torrential storm and flood on Friday night.  The water outside of my parents house where we had the rehearsal party was mid calf deep when people were trying to leave.  It added some drama, but it was really funny to see everyone with their pants rolled up and shoes off trying to get to their cars.  We are not really going on a honeymoon, but we are going to Savannah this weekend for a quick get-a-way.  Shockingly, I have never been to Savannah despite living in Charleston, so I am really looking forward to it.  I did take this past Monday off from work to relax, and while sunning on the porch, I came across a recipe for Huguenot Torte in the South of Broad magazine.  I have not had this in so long, and I was so happy to see a recipe for it.  Such a traditional Charleston recipe and so delicious.

Huguenot Torte

Ingredients:

4 eggs
3 cups sugar
8 tablespoons flour
5 teaspoons baking powder
½ teaspoon salt
2 cups chopped tart cooking apples
2 cups chopped pecans or walnuts
2 teaspoons vanilla

Directions:

Beat whole eggs in electric mixer or with a rotary beater until very frothy and lemon-colored. Add other ingredients in above order. Pour into two well-buttered baking pans about 8 x 12 inches. Bake in 325 degree oven about 45 minutes or until crusty and brown. To serve, scoop up with pancake turner (keeping crusty part on top), pile on large plate and cover with whipped cream and a sprinkling of the chopped nuts, or make 16 individual servings.


An Update on the Wedding Cake

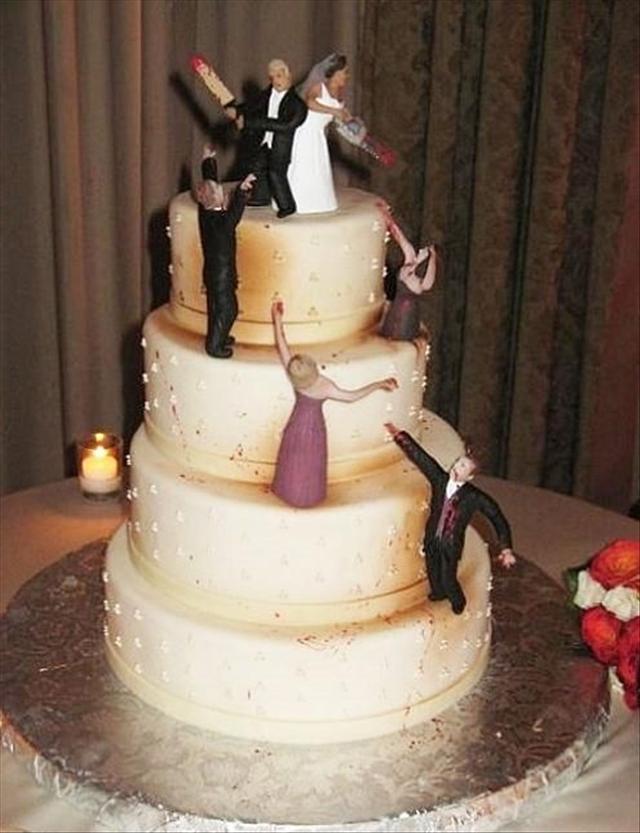
I am getting married in 8 days.  It is amazing how fast this has gone- granted I didn’t want much time between engagement and wedding, and everything is all done- except that I still have to make the wedding cake.  This is the only thing that I am feeling at all stressed about, but I figure if it doesn’t work out- I can always run the the grocery store and buy a cake or a lot of cakes- either way- should be fine, right?  This definitely has been an eye opening experience since I have now googled how to assemble/decorate a wedding cake and watched lots of videos.  For example, I was wondering how in a tiered cake is there frosting underneath the different tiers.  Apparently, you put each tier on cardboard and that way it is easy to disassemble and serve.  Also, I found out that you need to put supports in the cake so it all stays together.  Thank goodness for Amazon.com and there vast amount of baking supplies.  As for decorating, well that will just be a morning of creation.  In searching for decorating ideas, I came across a website of ridiculous wedding cakes 30 Hilariously Terrible Wedding Cakes.  I don’t think I will model our cake after any of these, but here are a few of my favorites!

Homemade Oreos

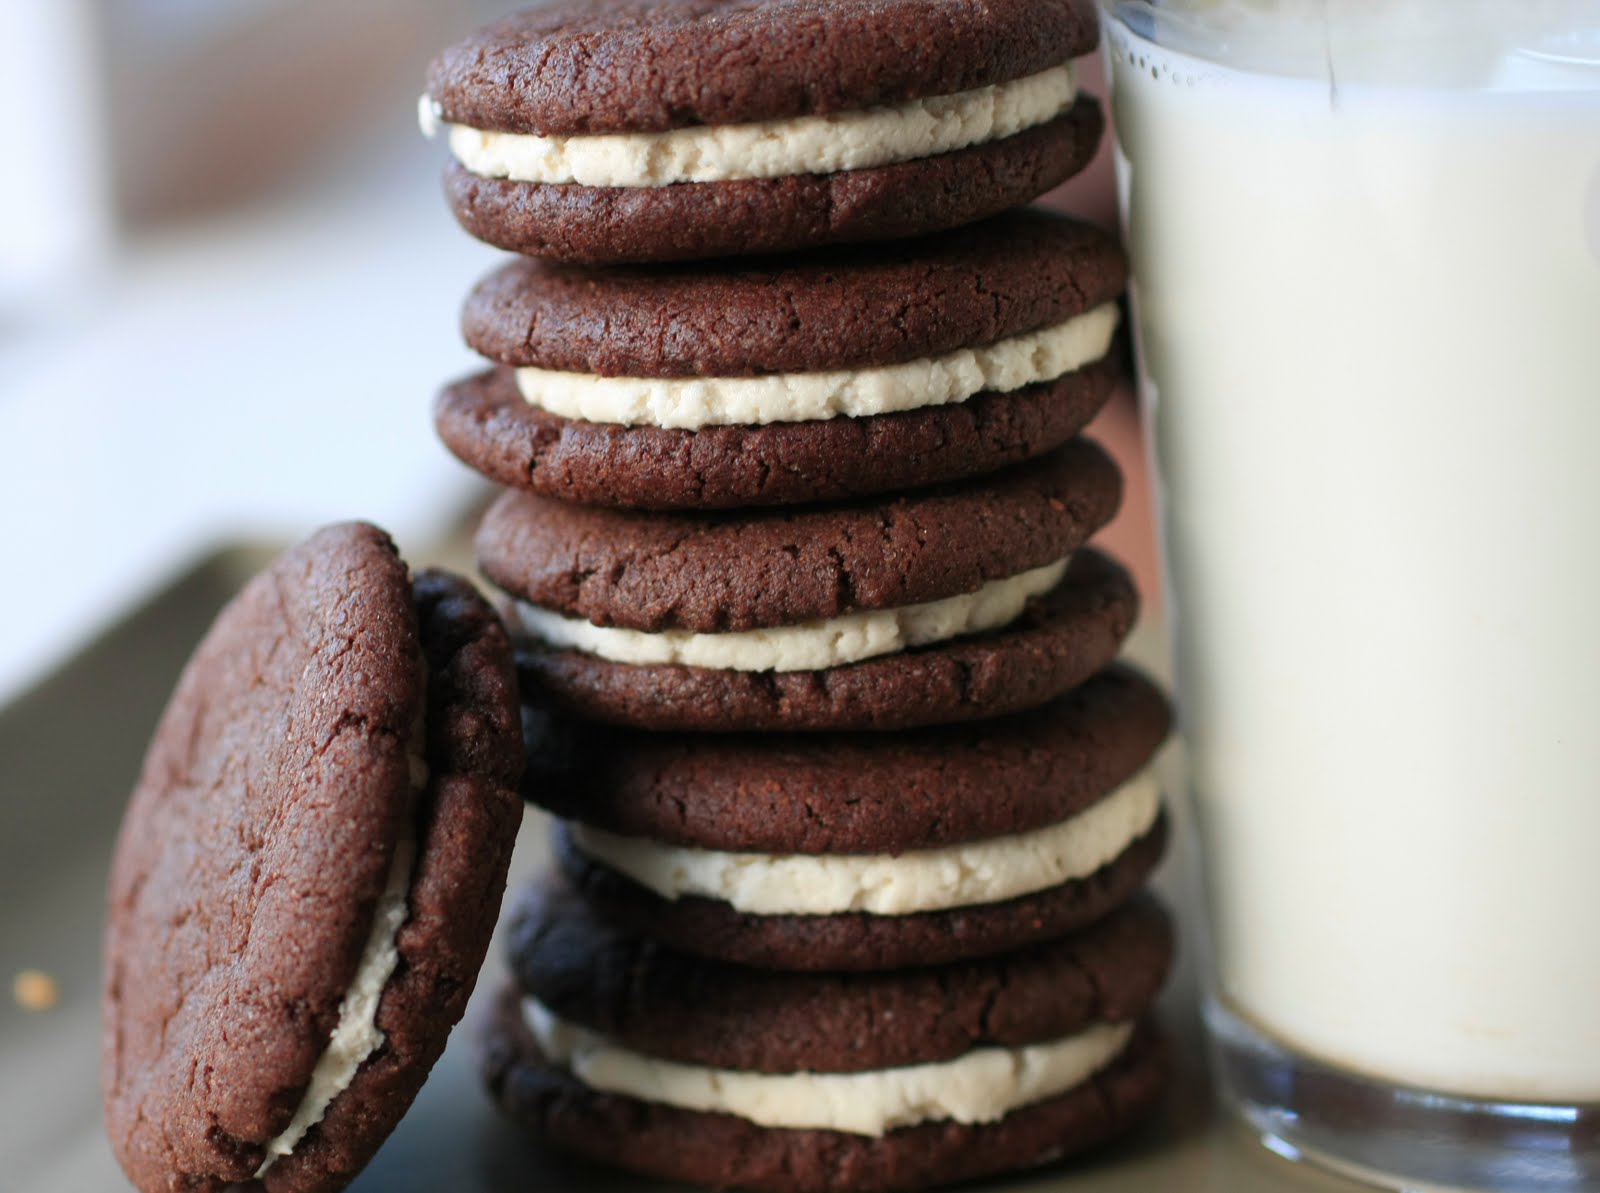
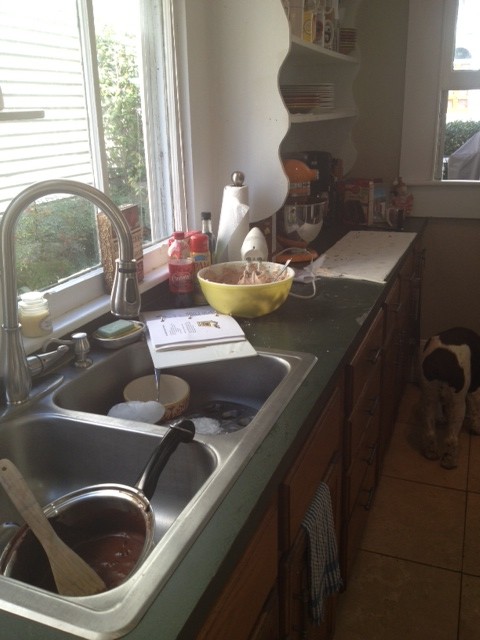
I just read that over 362 billion Oreos have been sold since they first came out in 1912.  That statistic is very relieving since I thought that I might be partially responsible for a decent percentage of their sales.  Clearly, with that many sold- I am not.  However, it just proves that there are many out there like me that really love Oreos.  Walker has a theory that men like the cookie part better and women like the cream part more.  This is true in our household, but maybe we need a wider basis for this theory to have any validity.  Walker would love to know, and for an easy science fair project at a later date, I would like to know as well.  Because they are the best selling cookie out there and oh so delicious, I had never thought to try to recreate its goodness.  While I doubt I can improve upon its perfection, what’s the harm in trying.  I could maybe sell 400 billion of my new Oreo if my kitchen were big enough.  However, here is a picture of my workspace, so maybe not. 

Homemade Oreo Cookies

Ingredients:

For the Dough:1 1/3 cups Dutch-process cocoa powder
1 1/2 cups all-purpose flour, plus more for dusting
1/4 teaspoon salt
2 sticks unsalted butter, softened
2 cups granulated sugar
2 large eggs
1 teaspoon vanilla extractFor the Filling:1 stick unsalted butter, softened
1/2 cup vegetable shortening
3 cups confectioners’ sugar, sifted
1 teaspoon vanilla extract

Directions:

Prepare the dough: Sift together the cocoa powder, flour and salt in a large bowl.Using a mixer, cream the butter and sugar. Add the eggs one at a time, then the vanilla, incorporating each ingredient before adding the next. Add the dry ingredients and mix just until incorporated, scraping the bottom of the bowl with a rubber spatula.

Divide the dough into 2 pieces; place one piece between 2 lightly floured sheets of parchment paper and roll into a 1/4-inch-thick rectangle. Repeat with the other piece of dough. Refrigerate both rectangles, covered with the parchment sheets, until firm, at least 1 hour or up to several days.

Using a 2-inch round cutter, cut the dough into 64 circles. (You can reroll the scraps once.) Place the cookies about 2 inches apart on ungreased baking sheets and chill for 20 minutes. Preheat the oven to 325 degrees.

Bake the cookies until they are set and slightly darker around the edges, about 20 minutes. Cool completely on wire racks.

Meanwhile, prepare the filling: Using a mixer, cream the butter and shortening until fluffy. Beat in the confectioners’ sugar and vanilla.

Flip half of the cookies upside down and top each with 1 level tablespoon of filling. Press the remaining cookies on top to make sandwiches.

Bayou Bakery and Smoked Bacon Marmalade

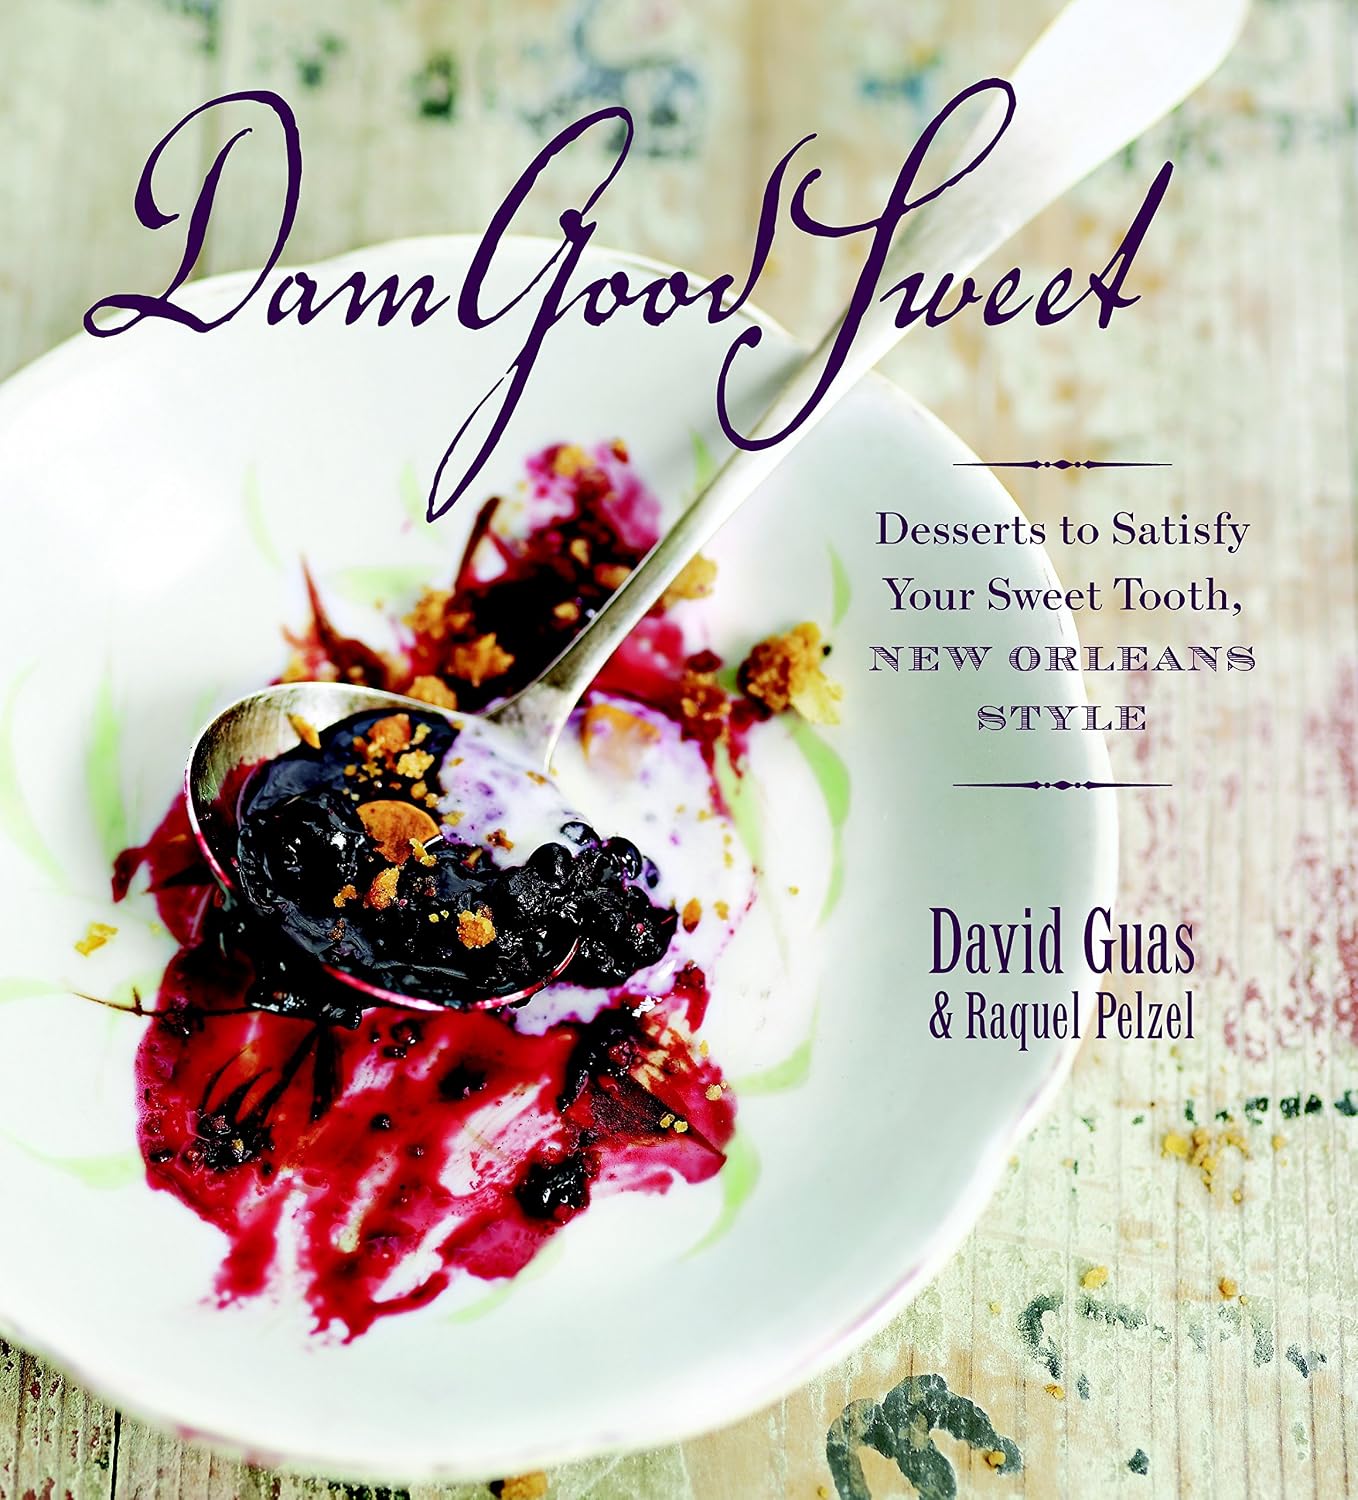
I came across Bayou Bakery  located in Washington, DC while searching for new recipes and places I want to visit, and I think a stop here on my yearly drive to New York this summer is going to be a must!!  Not only that, I think I need to own this cookbook DamGoodSweet – Desserts to Satisfy Your Sweet Tooth New Orleans Style by chef and owner David Guas.  I love the website for the bakery and especially this recipe for Bacon and Vidalia Onion Marmalade.  Sounds amazing!!  If anyone has been here- would love to hear your thoughts, and I can’t wait to go myself this summer!


Smoked Bacon & Vidalia Onion Marmalade

Yields: approximately 6 cups
Ingredients
1 1/2 pounds – Vidalia onions, medium diced or pulsed in food processor (approximately 5 onions)
1/2 cup – Apple cider vinegar
1 tablespoon – Mustard seed
1/2 cup – Light brown sugar
1/4 cup – Steen’s cane syrup
2 to 3 strips each – Bacon (preferably Allan Benton’s Bacon)

Procedure

Preheat the oven to 350 degrees Fahrenheit.  Lay the strips of bacon onto a baking sheet lined with parchment paper and place inside the preheated oven.  Cook the bacon for approximately 20 to 25 minutes, until each strip is evenly crispy.  Remove the baking sheet with the bacon from the oven and drain off the rendered fat into a heat proof container (a coffee can works great for this).  Chop the bacon into small pieces and reserve.
Toast the mustard seeds in a dry pot on medium heat just until the seeds begin to dance and get slightly browned.  Add the vinegar and remaining ingredients into the pot with the seeds, including the chopped bacon.  Cover the pot and raise the temperature to medium high.  Allow the onions to sweat on the heat for approximately 20 minutes, stirring the pot a few times throughout.  After 20 minutes, remove the cover and continue to cook the ingredients on medium heat until most of the liquid is reduced and the onions are dark in color—approximately 45 minutes to one hour.

Marmalade lasts for 2 weeks in the refrigerator and for 3 months in the freezer (air tight container).